Sunday, December 17, 2006

Merry Christmas and Happy New Year from Gwen!


Mike and Leslie want to wish you all a Merry Christmas and Happy New Year but they are busy and are letting me do it this year.

I don't know exactly what to do so I am just going to show you some of my pictures. That should make you Merry and Happy! Enjoy!

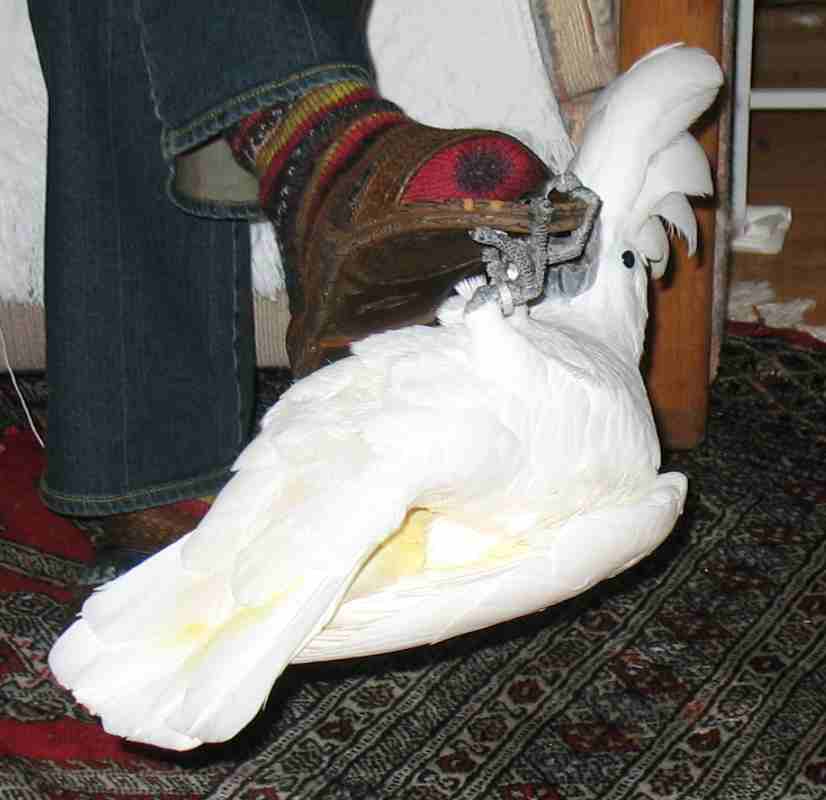
Here is me playing on Leslie's foot. What a great game. She hates it though when I bite her toes.

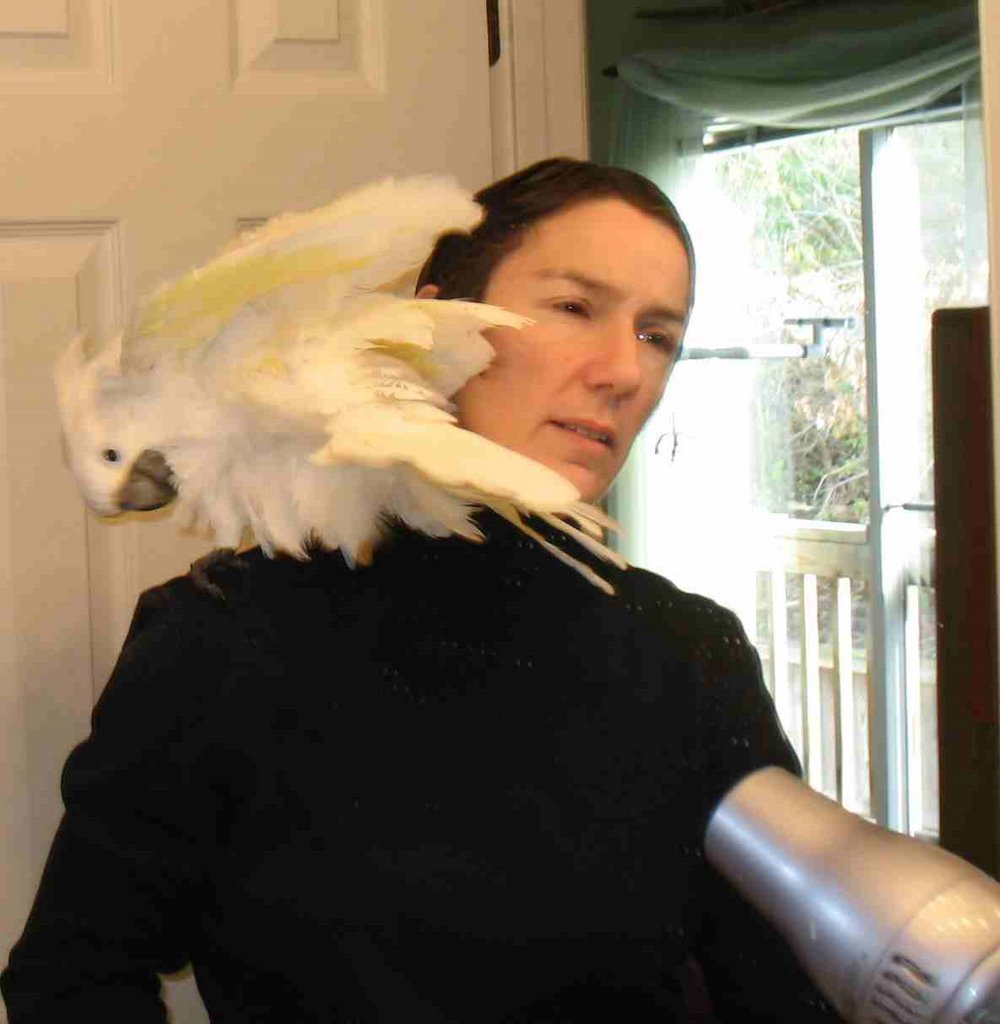
This is me getting my blow dry after my shower. I love the hair dryer! Notice that Leslie takes care of drying me before she dries her own hair! Isn't she thoughtful!

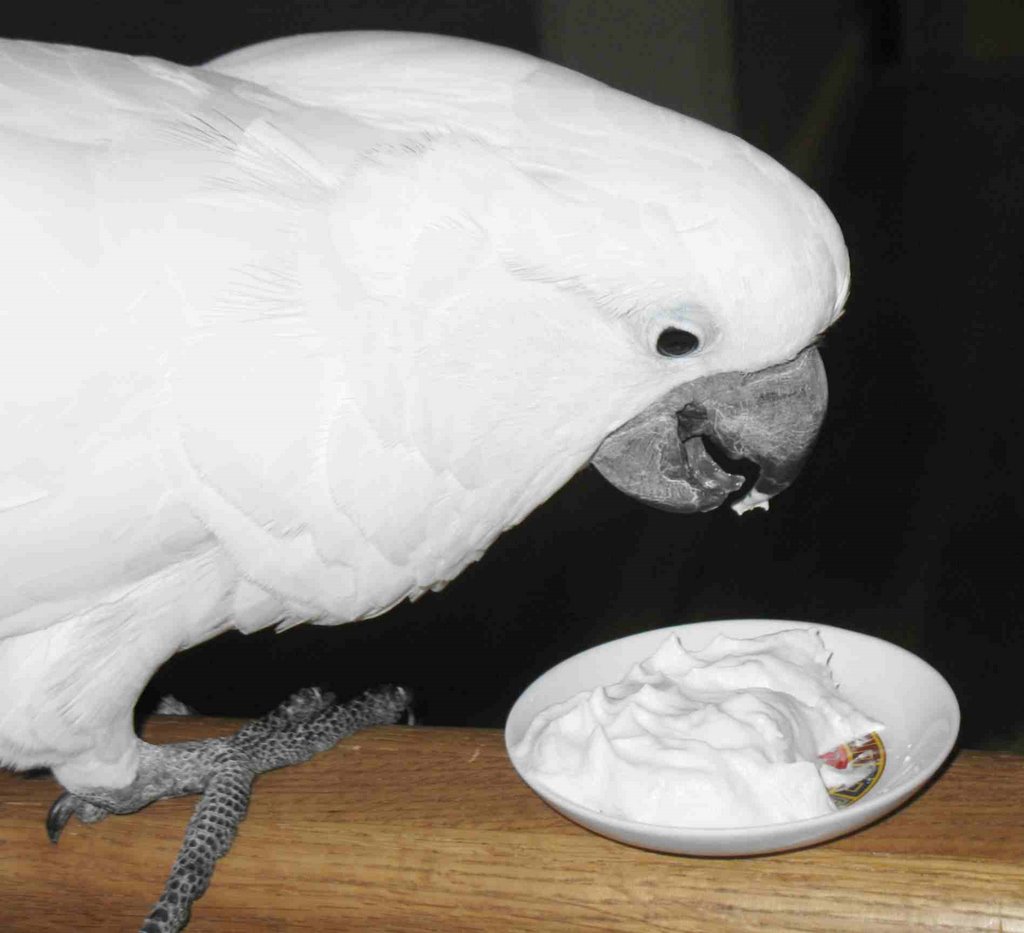
And this is me enjoying my nightly Cool Whip snack. I love Cool Whip!

If you haven't already seen my video, I recommend that you visit this website at http://members.aol.com/lescarroll/Gwen_Movie.mqv. Turn up the volume really loud so you can hear everything that I have to say! You'll need the Quicktime Windows 7.1.3 viewer. If you don't already have it, click here, it's free.


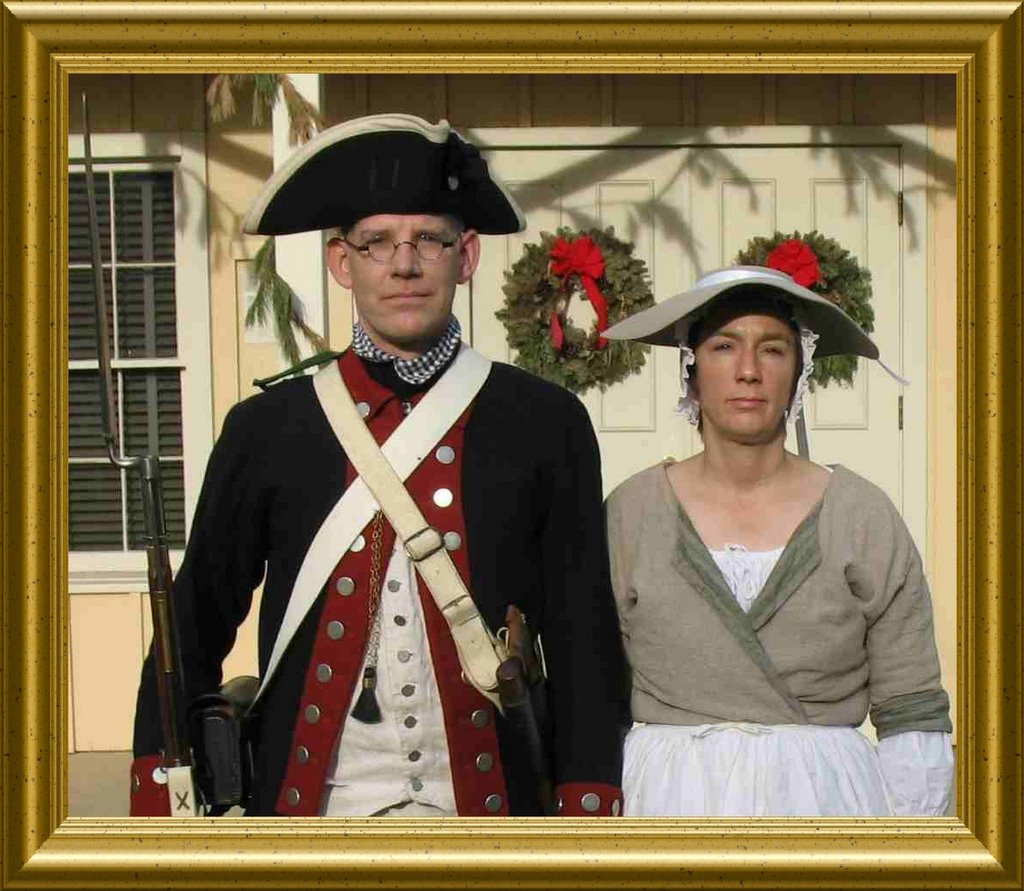
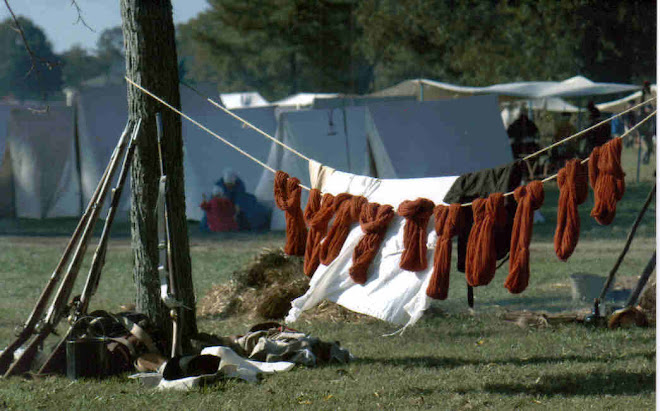
This is a picture that I found on the computer that Mike and Leslie labeled Colonial Gothic. Don't they look funny?

Sunday, December 10, 2006

Completed Martha Washington Cake


Here is a picture of one of the round 8" iced Martha Washington Great Cakes that I finished this morning before our Holiday Party. I believe everyone enjoyed the cake that tried it.

And althought the many people and kids stressed Gwen during the party, she seems fine now after everyone has left.


Saturday, December 09, 2006

Martha Washington Cake

I had received a recipe at Mount Vernon for a cake that Martha Washington supposedly made (see Great Cake Recipe from Mount Vernon). It calls for 55 eggs, 4 lbs of butter, 5 lbs of flour, 4 lbs of sugar, and 5 lbs of fruit. Since I got that recipe I have always wanted to make it. I did that today. Well, at least the cake part. Tomorrow, I will do the icing.


I ended up with 3 complete two-layer cakes (2 8" round and 1 9" square) plus I have one oblong one-layer cake. When I cut the cake pieces to get it to lay flat on the layers, I got to taste it.


The cake is certainly different. I don't like fruit cake with all that sweetened fruit. There is none of that in this cake. I added just fresh fruit and nuts except for some dried blueberries and cherries (not dried sweetened cherries that taste like they were made by some chemical company found in fruit cakes today). The cake is moist, firm, and sweet. The icing is going to make it sweeter (and better). I plan on serving it at a holiday party that I am having at the house tomorrow.


I also finished my apple center piece and the stairway decorations. I finished the wreath the other day but only remembered to take a picture of it today. I put out the candles on the windows and the poinsettias at the fireplace. The house is ready for Christmas!


Happy Holidays everyone.

Friday, December 08, 2006

Gingerbread House


Pictures of this years Gingerbread House!

Friday, November 17, 2006

Tyranny Like Hell is not Easily Conquered


I finished my first mitten - the left - with the new design changes. I love it – it’s beautiful. This one, just like the right one contains quotes from "The Crisis" by Thomas Paine. How much more Revolutionary War can they be?

The walnut-dyed brown and onion-dyed yellow wool is a nice contrast and the lettering really pops. I've already started the right mitten.

I want to have this pair done by 2 December so that I can wear them to our Revolutionary War demonstration at the Carlyle House in Alexandria, Virginia. I should be able to get quite a lot done back and forth on the train as we travel for Thanksgiving.

Monday, October 30, 2006

Indigo Dye

Saturday I took a pound of wool and used up the indigo dye bath that I have been fermenting for three weeks. Since I had let it sit for so long without using it I thought for sure that it wouldn't work.

It most certainly did work though. It dyed the wool a beautiful shade of blue - first a light shade and then darker and darker after every dip. I dipped it about 6 times over a three hour period of time.

I can think of nothing but blue jeans when I look at the color. The indigo color is just like the blue jeans of today.


I had done quite a lot of things different than the indigo recipe called for. I did not keep it in a warm place and therefore it took quite a while to be ready - a good two weeks at our room temperature (about 65-68 degrees) vice the week that the recipe stated. Since the indigo color was too blue in the dye vat, I felt it needed more soda ash and added 2 more ounces to the bath - doubling what was called for in the recipe and making it significantly more basic. After doing that, the dye bath finally turned a blue-green color. I also didn't stir it everyday like I was supposed to. I kept it quite airtight in a lidded crock that I bought in Germany which I think really saved it from ruin.

According to the recipe, the yarn should have been a yellow-green on the initial dip and then turn blue when it touched the air. My yarn did turn a greenish-blue in the initial dye bath but it was hard to see because it turned blue very quickly.

I am very pleased with the results. I can't wait to knit a pair of socks with the wool.

I also did another pound of wool in the walnut dye that had been sitting outside for a month. I filtered off the mold from the top and heated it back up. The brown was not as strong this time but it still is a very pretty color. I threw out the rest of the dye bath after this use. I didn't keep the indigo either.

Not sure what color is next. I bought some cochineal bugs so that may be the next color.

Tuesday, October 24, 2006

Black Walnut and Onion Mitten

I finished one of my mittens made with the black walnut and onion dyed wool dyed. I designed them with sayings from "The Crisis" by Thomas Paine.


The mitten is beautiful but it is too small. I saw that it would be too small about halfway through but I wanted to finish the design to see what it would look like. I am glad I did. I learned a lot about carrying the yarn in the back and saw some design flaws.

I made the mitten to the size indicated in a knitting book for a size 7 hand. It turned out to be the exact size so I know my gauge is right. But, obviously, the size is not right in the book. Very frustrating.

I have graphed out the new designs and can't wait to start knitting them!

Monday, October 16, 2006

Caroline Ribbon Sweater

I believe I have the flu. I have been on the couch now for four days. With nothing to do but knit, I was able to finish the Caroline Sweater. I used Berroco Zen in color 8215 which is a real nice smoky blue.

It was the first and last time I will ever knit with ribbon yarn. I had to find out the hard way that ribbon yarn is difficult to knit with and it is absolutely horrible if you have to rip out stitches. The needle points constantly kept hitting the middle of the yarn and caused the stitch not to come all the way through. Same problem when ripping out and trying to pick the stitches back up again.

The sweater is beautiful though and looks great on me (I couldn't get the picture to show its great charateristics). I knit it using the 35" bust size. I can't wait to wear it. I finished it in the fall though and will probably have to wait until spring to wear it. I am already calling it my flu sweater.


My next project is a pair of mittens with the beginning of the "The Crisis" by Thomas Paine knit into them. I am going to use my walnut and onion dyed yarn. I already did the swatch using size 00 needles. I should get 8.5 stitches to the inch and 9 rows to the inch. It will take me a long time to finish these. I'll use steel needles so they will be 18th century correct and will be able to knit them while I am re-enacting.

Monday, October 09, 2006

Finished Bobble Sweater


Here is a picture of the finished James Coviello Cropped Bobble Sweater. I did not put the bows at the top and the ribbon still makes the sweater great. It is hard to find velvet ribbon in anything but Christmas colors. I used a chocolate brown.

Now I need to find an occasion to wear it!

Thursday, October 05, 2006

Bobble Sweater

I don't often knit sweaters for myself. But I saw a sweater in Vogue Knitting that I loved. It is the James Coviello Cropped Bobble Sweater from the Holiday 2005 issue.


I didn't have any problem knitting it. But I did have trouble putting it all together. I don't believe that it is put together in the same quality that I did with the knitting. If I really wanted to I could rip it out and do again. But, it looks good enough for me for now. I knit it in small and used Lion Brand Wool-Ease instead of the Blue Sky Bulky alpaca wool that the pattern called for.

Anyway, I finished putting it together last night. I still don't have the ribbon to put in it yet. I'll try to pick up some this weekend. It looks good without it and it will look even better with it. I don't think that I will put the bows at the top though.


I also don't crochet so I just couldn't get the finishing chain stitches to look right so I just left them off.

Now I am working on the ribbon sweater and a swatch for a pair of mittens that I want to knit. I want to knit them with small steel needles and my walnut-dyed yarn. I want to add a poem or something on the front using the onion-dyed yarn that I made. So, I need the swatch to figure out how many letters I can fit on a row. More to come.

Wednesday, September 27, 2006

Use of Onion Linen

My husband came home from work yesterday with a great idea. First, he suggested that I take the beautiful yellow linen that I dyed using the Onion dye bath and make an under-petticoat with it. Secondly, stew up another walnut dye bath for a couple yards of linen and make a dark brown petticoat.

then I can wear them as props to show what natural dyes can do. First, the dark brown petticoat that they all can see and then I can lift that and show them the surprise bright yellow under-petticoat. Great idea.

I think that I will do up a batch of walnut dye this weekend just so I can dye the linen for the petticoat.

So, for Yorktown, I need to make 2 petticoats and a shift. I better get hot!

Saturday, September 23, 2006

Onion Dye

My husband was gone this afternoon so I thought I would use the time to dye some wool. I looked at a couple of recipes and decided on Onion.

I purchased 8 pounds of yellow onions ($5.49), cut them up whole, and put them in a pot to boil. The recipe stated that it should take about 30 minutes of boiling to get the dye out of the onions. I am supposed to know they are done when they are weepy. That didn't happen for 90 minutes. Perhaps I should have cut them up into smaller pieces.


I put alum and cream of tartar into the dye bath, added cool water, and dropped in the damp wool. The wool came out a beautiful yellow. Surprising coming out of an onion.


Now I am making a batch of indigo. I can't believe that I have to let it set and ferment. You have to ferment the whole batch too, not just a little bit and then add to a dye vat. I am supposed to know it is finished fermenting when it is really stinky and has a scum on the top. How do you dye wool in something that is stinky? Today we can use rubber gloves. What did they do in the 18th Century? Not sure where I can put it where it won't be in the way and get spilt.

Surprising, there were two recipes for the indigo dye vat. One was to mix it with urine. I didn't use that recipe. I can't image collecting my urine and then fermenting it. Mmmm.


Thursday, September 21, 2006

Liberty or Death Cap Completed


I finished knitting the Liberty or Death Cap with the Madder Red yarn I dyed a few weeks ago. This hat is different than the other two in a major way.

Instead of knitting the cap, dying it, and then using duplicate stitch to make the letters, this time I had the yarn dyed and was able to knit the letters into the cap. This one looks so much better close up.

You can see the differences in the yarn color so it doesn't look so modern.

Blog Flux Directory

Beautiful Walnut


I finished the Mount Vernon Craft Faire with a beautiful walnut yarn and piece of linen. I found that boiling the nuts for an hour was not enough to give a good dark brown. An hour of boiling, as the recipe stated, gave me a tan. So, I boiled the nuts for another 3 hours. The dye from that made a beautiful chocolate brown. The wool can be seen in the bottom left-hand corner of my display. I am really happy with the results.

On the way home I stopped at another black walnut tree and picked up over 100 nuts and will make another batch of dye soon. Perhaps I should wait until Yorktown so that I can use them as props.

Tuesday, September 12, 2006

Mount Vernon Craft Faire


This weekend (16-17 September 2006) is the Mount Vernon Craft Faire. This is the first event that we participated in last year with the 1st Virginia Regiment. The Faire is filled with 18th Century Arts and Crafts along with entertainment and demonstrations.


I have decided this year that on Saturday, I will break from my laundress demonstration and do a dye demonstration using walnuts. I have thought of this because Mike and I rode our bikes to Fort Hunt on Sunday and picked up nine pounds of black walnut husks. Since the dye from fresh husks is more potent, it is better that I get them processed as soon as possible. This weekend will be perfect. I'll start them soaking on Wednesday and they will be ready to boil by Saturday afternoon. What a demonstration that will be. The smell alone should peek people's curiosity.

I have made some small yarn skeins in which to dye of wool and cotton. Tonight I will prepare some linen and wool material samples. I will bring along a sample of my madder red yarn that I dyed a few weeks ago as well as some of the other samples that I have done.

Sunday, September 10, 2006

3d Liberty or Death Cap


Using the yarn that I had in the last madder red dye pot, I am making my third Liberty or Death Cap. This time, since I already had the red yarn, I knitted the letters in. Before, I knitted the caps, dyed them, and then did duplicate stitch to put in the letters in White.

This time I did it different. I used the madder red yarn and the natural yarn and knit the letters in when I knit in the ribbing. I ended up knitting it twice. The first time I only used a single strand of yarn of each color. I didn't like how the letters didn't "pop out" like I thought they should. So, I ripped it out and then used a single strand of red and a double strand of white. You can see by the pictures that the letters really pop with this combination.

I had to put some additional stitches in the purl stitches of the ribbing because I was carrying the white for more than 5 stitches. You can see some of them but I don't think they take away from the actual letters.

I tried to find some knitting graph paper to put my design on for future projects but was unsuccessful. So, I ordered a program which is supposed to print out your designs in graph format. I want to keep this design. I hope the program is easy to use. I am not one to knit with color. Perhaps this program will change my mind.

Tuesday, September 05, 2006

Finished Liberty Or Death Cap


I finished the Liberty Or Death knitted cap. I believe it is beautiful. I could be a little biased however. We will have to see if the receiver of the cap agrees with my assessment.

Next time I make the hat I am going to have to remember to add a few more stitches to the bottom ribbing to have enough room to fit in the letters in duplicate stitch. The letters are quite close together this time.

This cap came out better than the first one that I made and I am sure that the next one will be even better.

Monday, September 04, 2006

Madder Red


I have knitted a Liberty or Death hat using a natural color wool (Fingering weight) at a 5 stitch per inch gauge.

I dyed it Madder Red today using a recipe from Claude Moore Colonial Farms. First I did a mordant of 1/2 oz tin and 2 ozs of Cream of Tartar. The wet yarn was placed in the mordant and kept at about 160-170 degrees for 1 hour. The yarn was then placed in the dye bath made from 4 ozs of Madder Red root powder. I heated this up to 170-185 degrees for 1 hour. I let the dye bath cool and then washed the hat with lye soap. I placed the yarn and hat into the washing machine, filled it up with cold water, swished it around with my hand, and then put it on spin.


Now I am impatiently waiting for the hat to dry so that I can use duplicate stitch to put in the LIBERTY OR DEATH. This dye job has given me the hat and about 8 ozs of wool yarn for some future project. Perhaps another hat for someone else?


I compared the current Madder Red hat with the Madder Red hat that I made for Mike last year. This Madder Red came out brighter (hard to see in this picture). I am hoping it is because of the time in the mordant. Next time instead of the Tin chips, I am going to try the Tin powder.

The last hat stretched a lot when I dyed it. This time I was very careful when I was moving the hat in the dye bath. This hat didn't stretch or felt at all.


My current project now is a sweater named Caroline using Berroco Zen yarn in color 8215. I have had this yarn for about 5 years. I started a project with it and no longer had the pattern. I had done only about four inches so it was no big deal to rip it out. I have never knit with a ribbon yarn before. It is definetly more difficult than wool - especially if you have to rip out any stitches. I downloaded the pattern free of charge from Borroco Free Patterns.

Mike washed his socks that he wore last weekend. These are one of the pairs that I had knit on the Passap machine. He washed them in the washer. They shrunk up a little and I put them on the sock stretchers that I had just bought to get them back to the size that should fit him.